Remember two years ago when I posted the first Fun with Finishes blog post? I was able to turn a fairly disgusting aft bathroom into a warm and inviting space by using the cheap trick of interior latex paint. That finish has remained perfect for over 2 years now. It has worn well, has been easy to clean, and has withstood a constant leak from the mizzen mast area above it for this entire winter. Really. There is nothing like an almost constant trickle of water sliding down the wall to a) call attention to the fact it’s time to get serious about fixing that leak and b) put your wall finish to the test. I’m pretty impressed.

This finish, still perfect after over 2 years.
So when we decided to redo our galley, that was a good time to take the 1974 fiberglass interior under my wing and give it a facelift. Our interior fiberglass is what I like to call ‘almond ugly’. It’s like a color that isn’t sure what it wants to be. It makes no statement of its identity whatsoever. It’s not really almond in color, but it’s not really cream either, or white, or even yellow. I don’t think they make this color in 2017. Whatever it is, it’s sad and tired and I am having none of it anymore. Turns out, it’s really easy to change!
If you have a boat that needs an interior facelift, let me save you a lot of time and money. Painting fiberglass is not nearly the difficult thing it sounds like. I started my education for his project in the Sherwin Williams store where I bought a ‘special’ kind of Extreme Bonding Primer that allows you to paint over slick surfaces, like glass even, without sanding ‘most clean surfaces’.
Now, let me go on record as saying that I never believe that kind of bull doggy. There is never a time that I would consider painting a slick surface without sanding. But I was sold on the primer for some reason. Twenty dollars later, I had a quart of stuff I didn’t need. But whatever. I just saved you from a special trip to the Sherwin Williams store.

Sanded and taped and ready to paint.
I started out using the bonding primer but I was actually kind of unimpressed and didn’t see the point. It was thin, and I couldn’t tell whether it was actually helping the paint adhere better than just painting with no primer. So I moved to using some Zinsser primer for all surfaces. Why? Because we already had it and I’ve used it before with good results. I liked the feel of it going on the fiberglass better. No real hard data there, just that it was more satisfying to brush on, had more body to it somehow. It gave better coverage. So I went with that.
As in all painting projects, preparation is the key and I did not skimp on the sanding part of the prep. I started with a fairly coarse grit and the electric sander, attached to our shopvac. I ended with wet sanding using a finer grit. I used 220 because it’s what I had. Works great. I recommend the wet sanding when you are working inside a boat. It keeps the dust down. After sanding, give everything a bit of a wipe down with acetone.
In addition to the sanding, our fiberglass had a number of small holes from screws from previous owners over the years. I filled those holes with epoxy putty; the kind that is like clay that you work with your fingers until it’s mixed. That works great for filling holes as long as you use a product that says you can sand it smooth. The key, I found, is to over fill the hole a bit, then when it is partially set, carefully use a razor blade flat against the fiberglass to cut the excess off the top. You won’t have much sanding to do after that.
Taping off is critical and I used the blue painter’s tape that allegedly gives you a good clean line. It actually did what it said it would. I got nice clean lines where I taped against unpainted fiberglass areas. I taped off everything because I didn’t want to have to remove all the trim. Most of it is screwed and glued and is a pain to take off. The tape was sufficient.
After sanding, taping, and priming, I was ready for the fun part.
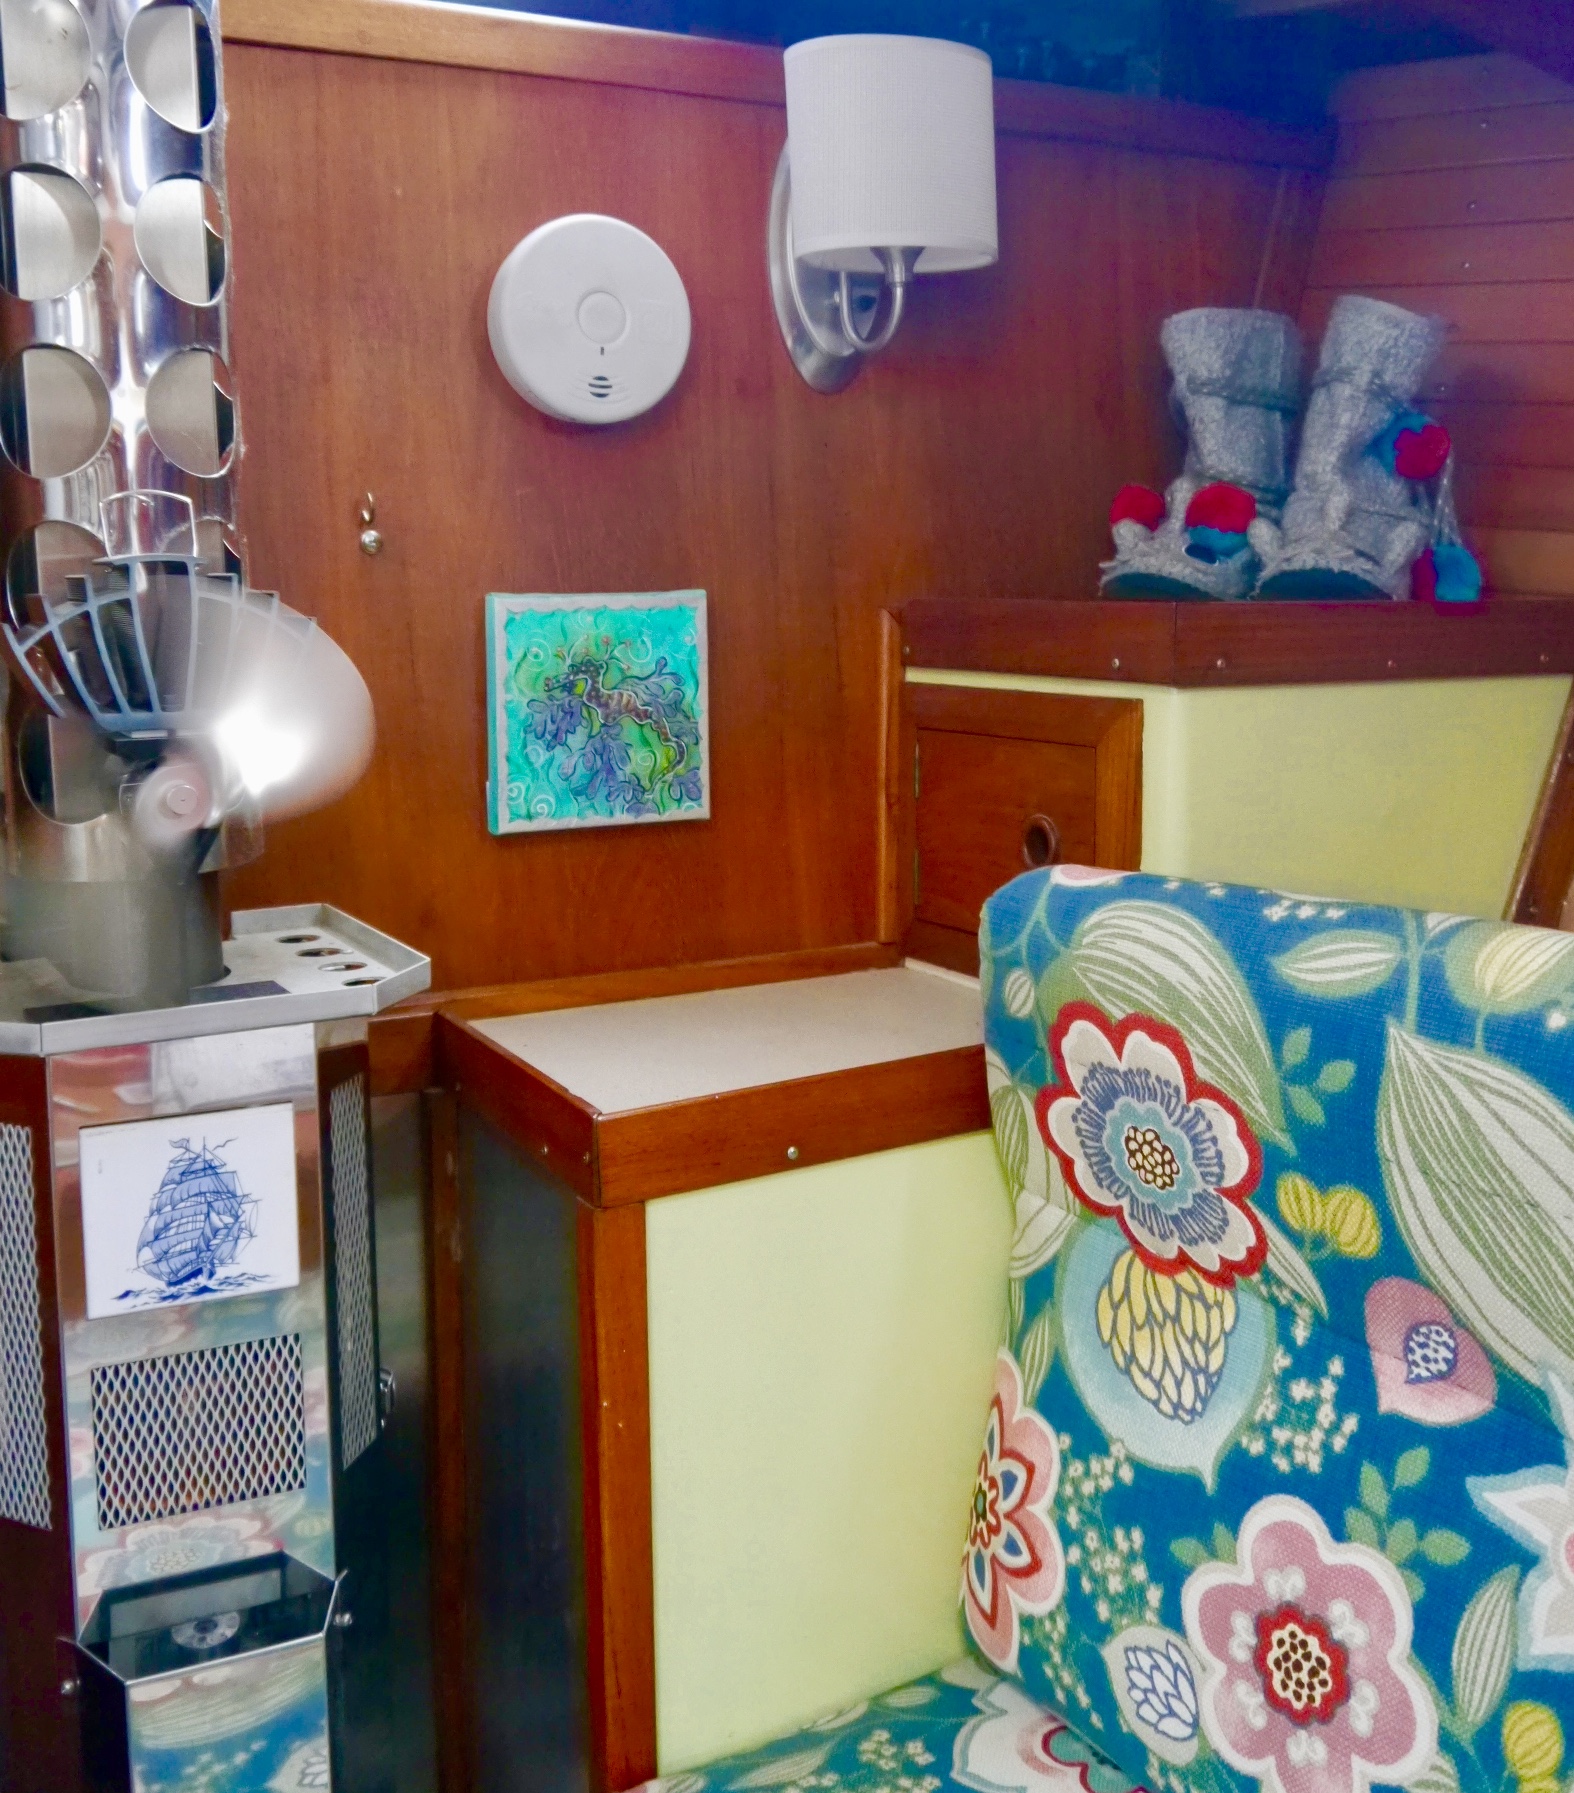
Salon in ‘Rice Paddy’ green.

The green against the grey.
For color, I wanted bright and cheerful without being overbearing. Taking note of colors in our salon and on our new formica, I chose a cool, pale “Nantucket Grey” (by Dutch Boy) for the galley and navigation area. For the salon, I chose “Rice Paddy” (Sherwin Williams) a springy green color. In the sleeping cabins I went for soothing “Watery” (Sherwin Williams), a gentle cool blue. Aside: How can I get a job naming paint colors?
After priming, the painting is a no-brainer. I used at least three coats everywhere. After the paint had dried for several days, I put on the final finishing coat. This is what I believe helps this finish stand up over time. I know that without this last step, my bathroom wall would never had stood up to the continual drip drip rivulet of water from the leak under our mast. (Getting repaired at haulout in June.)
At this point, you’ll be chomping at the bit to pull the tape off your project. But beware, my padawan!! Beware! Don’t just go ripping off the tape. Your paint has now dried over the edges in some places. If you do not want to risk messing up the paint job, you’ll use a razor blade to cut through the layers of paint along the edge of that tape.
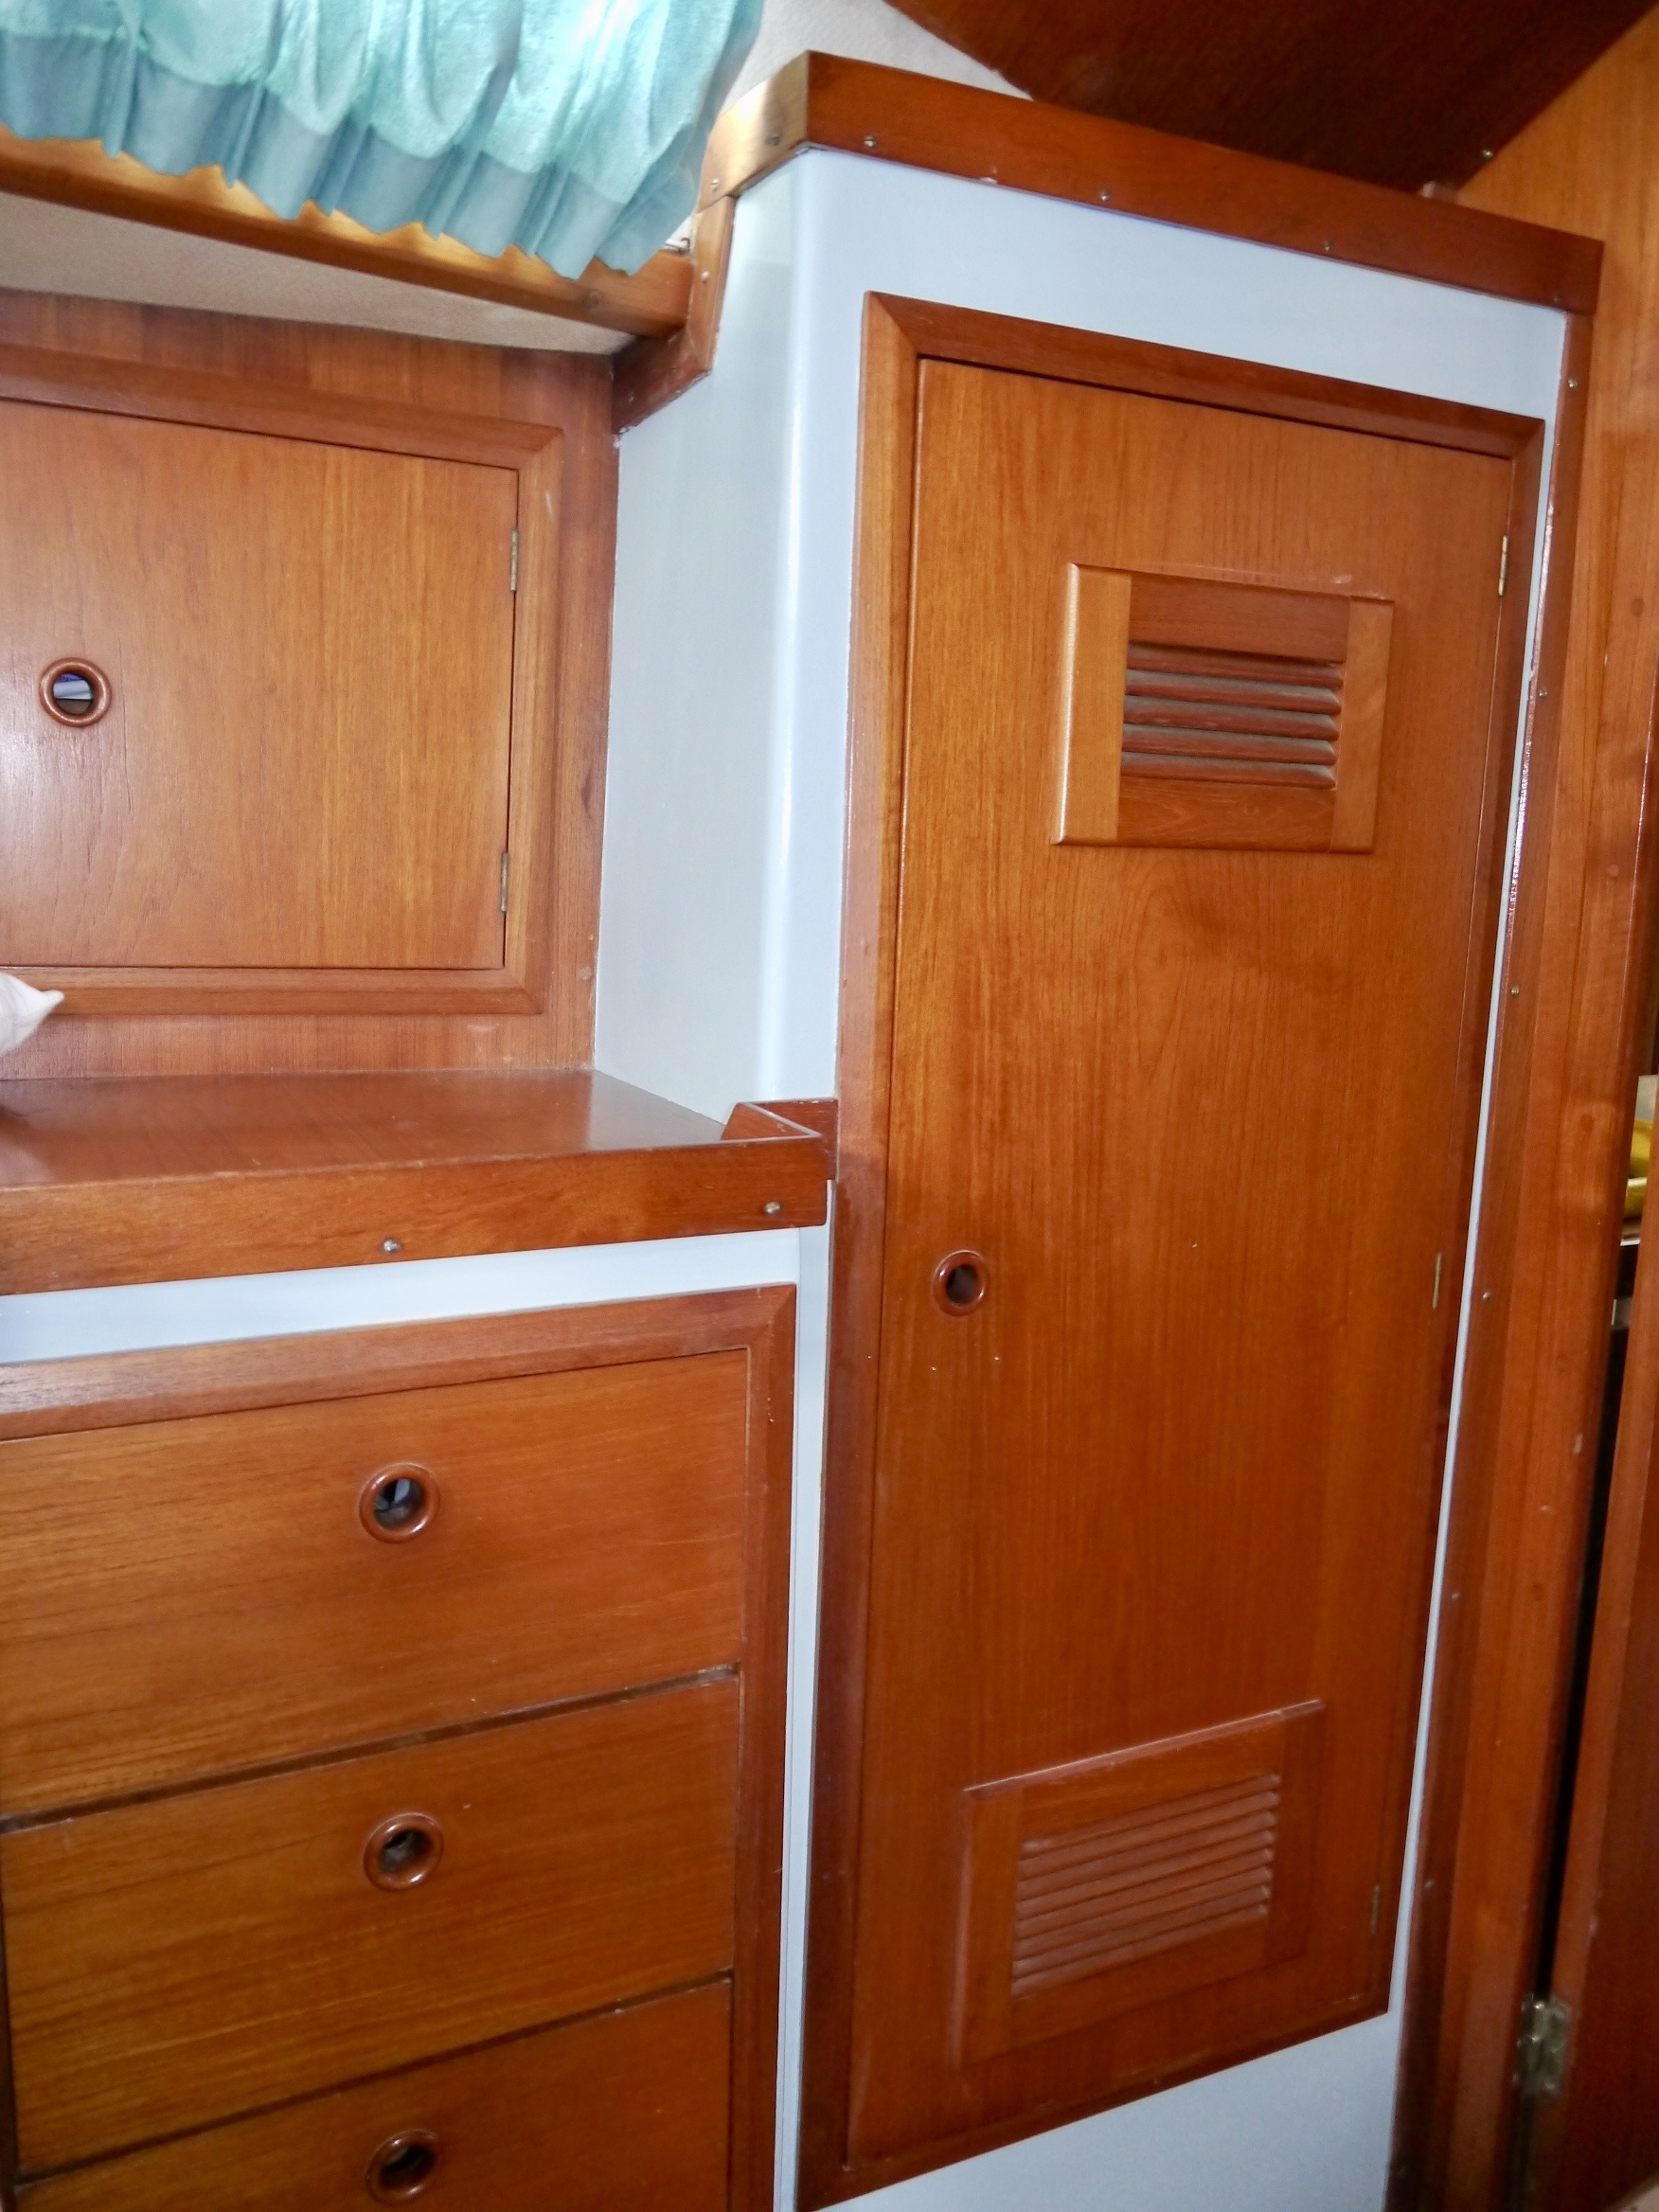
Aft cabin in ‘Watery’ blue.
Now here’s a kick in the pants for you: you can save even more money and time by skipping the primer altogether if you do a good sanding job. How do I know this? Because I accidentally skipped it in the salon in one area. The paint was going on smoothly and grabbing the fiberglass just fine. I didn’t realize I had forgotten the primer until I had finished two coats. At that point, I wasn’t going to sand that paint off. So I left it. A couple of weeks later, can’t tell the difference. Unless it suddenly starts peeling off great swathes of paint, I’m going to say you can skip the primer if you are thorough in sanding.
The final finish is a coat or two of Minwax Spar Urethane Indoor/Outdoor Clear Gloss Varnish. It needs to be the kind the dries clear, not amber, unless the amber works for you. I needed it to be clear, so I had the paint department at the local hardware store open the container so I could check. And, of course, I chose gloss but you could go with satin. The point is that this puts a hard protective coating over your paint. It’s another layer of protection in a tough environment.

Galley in ‘Nantucket Grey’. You can see the ‘almond ugly’ in Mike’s shop. I haven’t decided if I will do his shop, but i probably will extend the grey into that area.
Because the spaces are so small, this project turned out to be much easier and less time consuming than I feared. Cheap, easy, and pleasing to the eye. This project is a definite win.
Hey…I just going to have to come down there
Well, you know the way! Come on down.
It looks great!
Thanks, Ellen. I do love color a bit.
What a great way to freshen up a boat — Fun with Finishes is right!
It’s probably lost on most people, but this is kind of a reference to The Big Bang Theory when Sheldon and Amy have a Youtube show called Fun with Flags. It’s so completely geek that I love it.