We’re in Such a State!

Yesterday, after days of constant rain; the kind of rain that makes every tiny leak show up and shout for attention, the sun came out. It warmed up, we turned the heat off below. It was feeling like spring was just around the corner. Mike said it was the kind of weather that made him want to cavort and kick up his heals. He’s such a lamb. It was also the kind of weather that puts us on notice that we are really short timers at this dock. Good thing we are making considerable progress with all the interior projects we need to finish up before we leave. Exterior projects await our time, attention, and $$.

MIke and Melissa, thinking about summer.

We are smack in the middle of our navigation station/galley remodel. Long-time contractor and friend Doyle Lewellen is guiding us through this bit and doing the part of the work we don’t have the skills to do, such as cutting formica neatly and correctly and building drawers in a space not quite square.  Doyle was the contractor we hired when we remodeled our 1964 rambler 16 years ago. He’s a skilled contractor with an artist’s sensibility and eye.  If he does something, it will be done right. Doyle is responsible for many of the design features in our home that we still love to this day: the plaster walls that glow in the light, the deep window seat and picture window in the kitchen, the big soaking tub he was able to squeeze into the master bathroom by using creative thinking. We’ve never grown tired of those things. So it’s his eagle eye we wanted for the galley and nav station remodel.

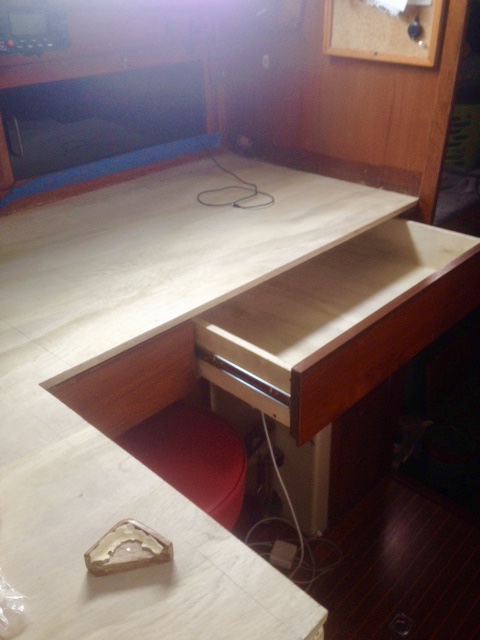
The galley/nav station re-do includes being able to access the storage space in by way of a nice sliding drawer that we can pull out without lifting the top. We retain the ability to lift the lid when we want to, but the addition of the drawer means we don’t have to clear everything off that area to get to a pencil. It’s been one of the aggravations in living aboard, that desk area.

In addition, a storage space in this area, seen in the photo below,  has been expanded and is now the home to our brand new baby Engel freezer. I am dead excited about having a separate freezer as it will lengthen the amount of time we can stay at anchor away from the amenities of grocery stores and still have fresh meat. I am reminded by Donna Rohwer over at SV Denali Rose that we can also keep ice cream on board this way. Donna is a caring friend to want me to have ice cream. But clearly she doesn’t understand my relationship with that cold, creamy goodness. It will never see the inside of a freezer for very long on this boat.  But the thought was a nice one.

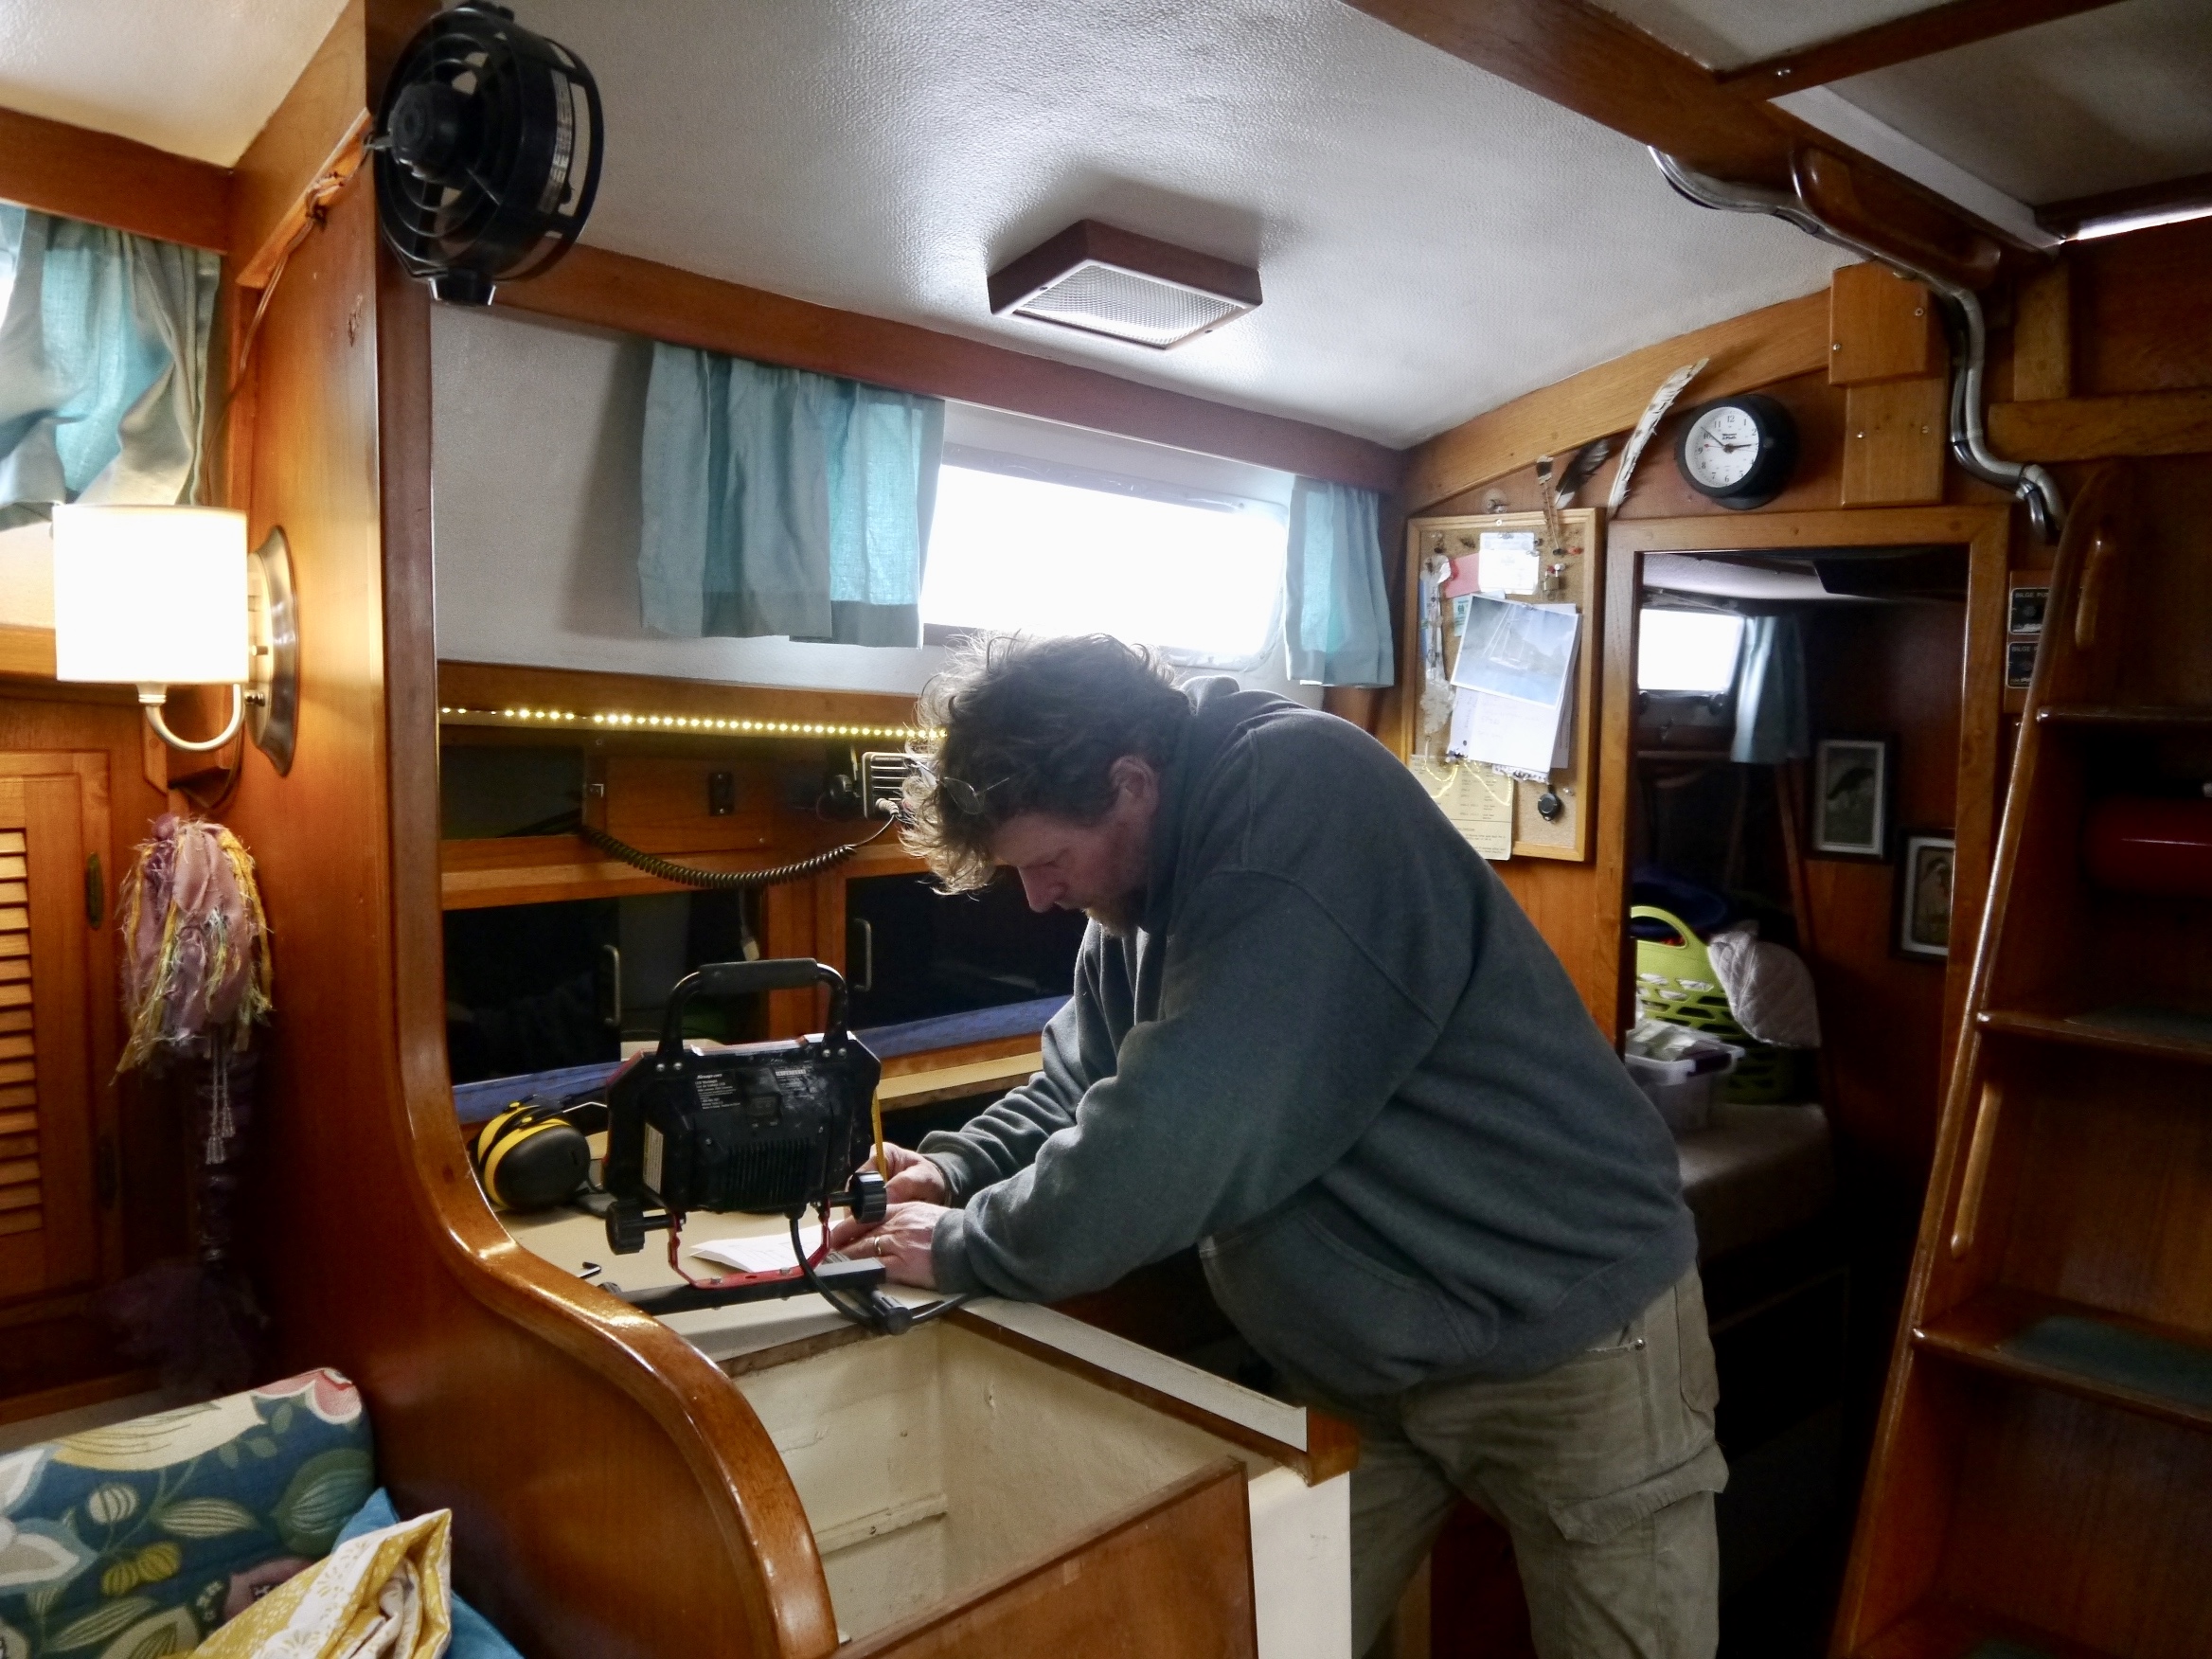
Doyle takes careful measurements for the navigation area.

In our galley, our sink has seen better days… days that date from 1974 when this boat was built. Frankly, I don’t think the drains will survive a Pacific crossing. It wouldn’t surprise me if a drain breaks off in my hand as we pull the thing. But finding a sink to fit in that space was like looking for a unicorn. The problem, for those unaccustomed to boat interiors, is that the countertop is only 19.5 inches wide. Go measure your countertop in your kitchen. Go ahead. I’ll wait. You’ll see that it’s much greater than 19.5 inches. And that’s why almost every ‘normal’ sink of average size is 22″ wide. To get one much narrower, you also have to go much shorter. I wanted to maximize the size of my sink because on a boat, a sink is a useful area.  So, after leaving room for putting in faucets, I had a need for a sink about 17″ x 31.5″, a long, narrow rectangle. It does not exist. I could find 18″ sinks, but even though they would fit, there would be no room for faucets.

After a week of constant looking, measuring, and remeasuring,  sinks and measurements were swimming around in my head. It began to look as though we needed to have one made. What innocent babes we are about some things. I drew up a sink I would love to have and we took it down to the local stainless fabricator. After all, a woman who has a Whitby 42, which is the little sister to our boat, got a great looking sink made in Chinatown in New York City for 400$. How much different could it possibly be here? The answer to that is a lot different.  Like $2,500. Uh. No. Just NO. We have way too many other things to buy.

The sink looks large, but there is a lot of wasted space in those rimmed areas and the second sink never gets used for anything but the dish rack. Effectively we use 1/2 of this sink for sink duties. Forget rinsing clothes out in this sink. It’s too shallow. And that drawer unit to the right? A lot of wasted space.

So I got creative with my search and eventually I branched out to laundry sinks and I found this one for less than 100$. I think Mike actually loves me a little bit more since I’ve found this sink and decided to compromise a bit on the length of the thing. Do I wish it were 31.5″ long? Yes. But will it suffice? Also yes. No, it’s not marine stainless. Yes, we’ll have to care for it. Yes, in 5 years maybe we’ll have to replace it again. I. Don’t. Care. It’s easy to install, it’s really deep, and it’s bigger than the sink I’m currently using by a lot, since I only ever use 1/2 of the double sink we currently have.  I can do laundry in this sink. That’s what I need. I can’t wait for it to get here so I can stroke its silky finish. Maybe by the time this sink rots on us we’ll be somewhere we can afford to have people fabricate things.

Of course, you know how remodeling goes. You start one project and suddenly it has mushroomed into several. Since we are replacing the sink and faucets in the galley, Mike will take this opportunity to replace all the water lines (he’s using Pex). And since we are replacing all the water lines, this is the time to replace the water heater with a new one that has a heat exchanger that will allow us to get hot water at anchor. (Shout out to Sure Marine in Seattle for giving us a good price.) And since he’s replacing the water heater may as well get it out of his precious engine room and put it under the sole in the aft cabin where it will fit snugly in a little cubby all its own. And, again,  since we’re replacing all the water lines, we may as well replace the leaky faucets in both heads. And since we’re replacing things in heads, may as well rebuild both toilets (post to follow when one is finished. He’s doing one at a time for obvious reasons.)

Galapagos is not ready for guests right now. Guess how much I love having a toilet in my salon. Just guess.

I think that’s all, except for the new anchor, which Mike is writing a post about. Oh wait, no, there’s one more. Since we are tearing up the galley anyhow, I may as well get rid of those pesky drawers that are a waste of space and drive me nuts and turn that space into a cabinet. That one’s on me. I think I have the skills for that one. Cha-ching!

You know, we’ve lived through years of remodeling houses. Two houses, to be exact. Now we live through remodeling a boat interior a bit. It’s just like doing a house, only smaller and everything takes three times as long and feels four times as messy. I do my best to keep the mess to a mild roar, but really I’m looking forward to this all being done so I can go back to my tidy boat. This boat is in such a state!

We’re this far. It’s going to be great.

Time is skipping along. While our trajectory is still to haul out in June, in reality we need to have the boat ready for that haulout and almost ready to leave the marina for good by the first week in May. Claire is getting married in Scotland in May and the entire extended family is going over. It will be like herding cats, but it will be a lot of fun. We’ll be there for three weeks and when we get back we’ll need to hit the ground running.

After the haulout? We will sleep for a month.


Immunization Fun Pack

One of the downsides of getting ready to travel extensively is that you have to get immunized against all of the many diseases the world has to offer. Yellow Fever. Hepatitis A and B. Typhoid. Tetanus… The world of germs offers many ways to either kill you or make you feel like you wish you were dead. Rather than take that chance, we decided to get our shots.

If you are in the market for immunizations, let us make it easy for you: just go to Costco. We’ve done the leg work for you, and our arms have the soreness to prove it. Like large packages of toilet paper and crackers, Costco offers the ‘fun pack’ of immunizations at a lower price than its competitors.  Unsurprisingly, the service is good, the quality high.

In shopping around I looked at two ‘travel clinics’ in Tacoma and at Costco. At the Rite Aid travel clinic, each consultation would have been around 80$. So that’s 160$ out of the gate, just so they can tell us which shots we need. It was the same price at the other travel clinic I called. At Costco, the cost was 40$ per person, a savings of 50%. Here’s how it worked:

First, you go to this Costco Travel website and a buy a full service Travel Medicine Consultation. You will get a link to fill out a form. This form is really written for people who are taking cruises rather than doing open ended travel, but not to worry. Fill in the information you have for the first country you will visit, then in the notes section indicate that your travel is open ended and give a list of some of the countries you will visit. A medical doctor will be sent the form and will send you an email with recommendations for which immunizations you need. We filled out our forms and in less than 24 hours, we had an email from the doctor with his recommendations.

When Mike brings flowers and we don’t have any vases on board. Just putting this in because I don’t have other photos of getting injections. And this is prettier.

Now, our experience is with the Travel Pharmacist in the Federal Way store. We cannot vouch for other stores, but Elizabeth in Federal way has 25 years of experience and is excellent. After receiving our email, I got a call from Elizabeth following up with a phone consult to confirm the information and ask more  questions about our travel plans so we could fine-tune the list of recommendations. For instance, the doctor recommended, based on the fact that we’ll be ‘adventure traveling’, that I get a rabies vaccine. Elizabeth and I determined, based on the LittleCunningPlan definition of ‘adventure’, whereby it’s unlikely we will ever be more than 7 days from a treatment facility (when on land), that I didn’t need to go that route. We then set up a schedule to begin.

Let’s repeat that: SHE CALLED ME and we had a phone chat for over 15 minutes where I got to clarify our plans and talk about options! In addition to her taking the initiative in following up on the on-line form, she was cheerful, friendly, and informative. That kind of service is hard to find these days.

Mike and I made our appointment together and tootled up to Federal Way for our first round of shots. We signed in at the desk and paid our measly co-pay because they had already billed our insurance, which covered almost all of it. Elizabeth greeted us, explained everything in detail, confirmed information, then gave us our injections. I’m not a happy person when I get injections. But she is so skilled I was able to take it like a champ. We made our appointment for our second round.

The day before we were due in, Elizabeth called to remind us that our second shots were due. We’ve received round number two. We have an appointment for the end of June to receive the last of the Hepatitis vaccines. That’s pretty much the last thing we have to do in the the South Sound before the long trip. So we know we’ll be hanging around at anchor here and there in our home waters for a little while. Probably sleeping.

So let’s recap: for 40$ we received an initial consult from a travel medicine doctor (who also talked to me on the phone, by the way, after I made a suggestion for their website forms), got a follow up call from the travel pharmacist and consulted further with her on the phone, got excellent service, the shots didn’t hurt, and they billed our insurance, which paid for most of these! In all, a painless and seamless experience. Thanks, Costco! Thanks, Elizabeth! See you at the end of June!

LED Lighting Update

Note: A regular reader has pointed out that the images and links to the Amazon products do not display in his browser.  This could be due to a browser plugin that blocks advertising.  If you have similar issues seeing images you can try to turn the ad blocking function off for this site.  For future posts, I will find another way to provide links to the products we write about.

About a year ago I wrote about using some inexpensive LED strip lights to improve the lighting in our shop and nav station That post, Cheap Boat Tricks (but will they last) featured Some very inexpensive but non waterproof lights like these : [amazon template=thumbnail&asin=B00HSF64JG]

After a year of usage I can report that the lights work okay but their durability is lacking.  In the shop area, I had segments fail after a leak developed nearby.  Since the LED lights are not protected in any way I guess it was inevitable that physical abuse of one sort or another would be their undoing. Having said that the Nav station lights continue to work well and at around eight dollars for five meters of light it is a great value.

However, late last year, a co-worker turned me on to some similar lights but with twice as many LEDs per meter inside a silicone sleeve with an adhesive backing.  At thirty dollars for 5 meters, they are also nearly four times the cost.  Check them out here: [amazon template=thumbnail&asin=B00CMX2KGK]

I had been warned that the adhesive backing on these lights was not sufficient to mount them upside down so I also bought the adhesive foam tape that is quite a bit stronger than the stock tape. In fact it is labled as a 3M product and looks like the same stuff used to mount our portlight covers.  You can check that product out here: [amazon template=thumbnail&asin=B00PKI7IBG]

Using these new lights I replaced the shop lights and also installed them in the galley and salon.  The galley was sorely in need of additional lighting and I was hopeful that the silcone cover and strong adhesive would work well in an area with heat and moisture. After two weeks of use, we have been very impressed with the quality and durability of the lights, but let’s give it another year.  Here are some before and after photos.  I took these without the flash, on a tripod to try and capture the differences more accurately.

The galley with just the Alpenglow fluorescent light

Galley with new LED strip lights

One of the advantages of the new silicone cover is that it helps to diffuse the individual LED lights, providing a more even lighting.   That is an issue at the nav station where at certain angles it looks like lasers are shooting down on the desk.

The salon lights are less utilitarian but still nice. I mounted them as uplights to provide general illumination. We have reading lamps on either side of the settee, so these just add a bit of warmth to the area.

The Lights are mounted behind a fiddle in front of the bookcase.

In addition to the lights and extra tape, I knew I would need some switches for these new locations.  Amazon helpfully (out of the goodness of their hearts, I’m sure) recommended these handy dimmer switches.  I bought two and they have been great. Here is a link to them:

[amazon template=thumbnail&asin=B00TSV2CFI]

I didn’t really think I wanted a dimmer function on these lights, but in the galley and salon this is a nice feature. The switches come with jacks that can be used with the lights but I just cut them off and soldered the wires to my DC system. Also, you will probably want to pick up some extra LED strip connectors.  Soldering a wire directly to those strip lights is pretty hard and these connectors make it easy to create a wire pigtail from the strip light. You can also use these to run multiple sets of lights or run the lights around a difficult corner.

[amazon text=www.amazon.com&template=thumbnail&asin=B0062RBR84]

Those three projects used all but eighteen inches of the lighting I bought but we are already thinking up new places to install these lights.  Eventually, I will probably replace the Nav station lights and I think it might be handy to have a separate strip of red LEDs in that area.  Also the lighting in the aft head, over the mirror needs help. Hopefully all of this effort to replace and install LED lighting will make our batteries happy.  If my batteries are happy, then I’m happy.